
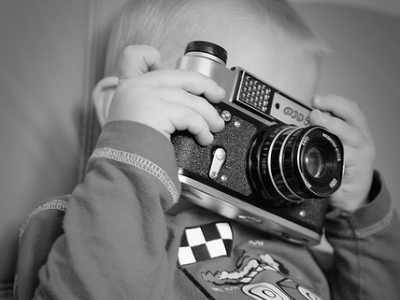
Video recording techniques
- Single handed – one technique is to hold your camera with one hand and support that elbow with your free hand. Keep your elbow near your body, as this will allow you to hold the camera for long periods.
- Two handed – sometimes it's more comfortable to hold a camera with both hands. Again, keep your elbows near your body for improved leverage and stability
- Above your head – if you’re shooting crowded events, you might need to hold your camera over your head. If you have a swivel viewfinder, this is no problem, but if you’re using a camera without an adjustable viewfinder it takes a lot of practice.
Video recording tips
- Stabilising your camera – keep an eye out for architectural or natural features that can help you stabilise your shots. Walls are good for leaning against, and if you’re able to use a tripod, it willl make your shots much more stable.
- Keep recording – it’s smart to record a little more than you think you need, as this will give you more to play with when you’re editing. Aim for a minimum of ten seconds per shot.
- Zooming – avoid making your viewers motion-sick with excessive zooming and/or panning. We recommend that you turn off your camera’s digital zoom feature. Because internet video is often viewed in a small window, stay tightly framed on your subject. Some digital cameras and phones show a marked deterioration in image quality when the zoom is used.
- Dollying – physically moving the camera while it is fixed to an object. We recommend using wheelchairs, cars, skateboards, tricycles, or improvising using anything with wheels. Have the camera person sit on the vehicle or object, while someone else pushes it.
Converting and preparing your video
- Documenting and getting to know all of your material is the first step towards making a good video. Collect and label all the material you will be working with, and make sure it is all in a format you can use. Make a log to help you note particular shots, so you can find them when you need them.
- If you are recording video digitally – directly to an SD card, or with a DSLR camera, for instance – keep in mind that the recording format is not always the optimal format for editing. Video recorded in highly compressed formats like AVCHD may need to be converted before being imported. Check which editing formats are supported by your software, and use free software like MPEG Streamclip or VLC if you need to convert footage.
- Log your video. Watch all of your tapes, making notes in three columns as you go:
- The start and end timecode of the shot
- What is happening on the screen and in the audio
- Any comments; for example, whether a shot is worth using, the sound is bad, etc.
You can structure your log in various ways, and log your material more or less thoroughly, but always make sure it is consistent, and label each page clearly.
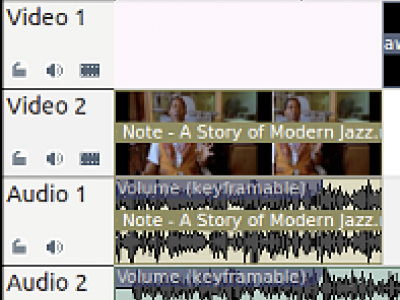
Editing your video
- Keep it short – the most common problem that new editors run into is that they don't want to leave anything out. Don't be afraid to ask for help with cutting away excess. Be especially wary of poor footage, incomprehensible speech, repetition and distracting or irrelevant sounds and images.
- Tell a story – whether you are making a feature, documentary, or art piece, remember to tell a story that engages the viewer.
- Don't overdo the effects – a good video can be ruined with too many effects. Where possible, let the images, the sounds, and the people themselves tell the story.
- Be creative – consider the rhythm of your piece. Pauses in the speech allow the audience to reflect on a powerful point, to enjoy dramatic footage or a joke.
- Be patient – don't get discouraged if the edit goes slowly. It can take time, but will get easier as you gain more experience.
Distributing your video
- If you plan on doing more with the video than just putting it online, it's a good idea to output a master file at high-resolution. Use this file for DVD distribution or for showing at screenings. Use a more compressed file for uploading online.
- Follow the compression guidelines set out by the platform you decide to use. Youtube and Vimeo both recommend the H.264 codec at 24, 25 or 30 frames-per-second. You are aiming for a balance of quality video with the smallest file size possible, to mimimize loading times.
- Youtube has a non-profit video program available to organisations (currently only available in a handful of countries). Joining the program brings added functionalities to your account such as livestreaming, a donate button, and in-video annotations and calls to action.
Go to Tactical Tech's Message-in-a-box: video case studies.
.png)


.png%3Fitok=rF0KWQB6)


.jpg%3Fitok=pXDTLHzY)


.jpg%3Fitok=3tJxk_zi)
.jpg%3Fitok=AIh9YY_n)


.jpg%3Fitok=1X702tBf)